
Post by minifoxer on Dec 5, 2011 9:46:55 GMT -5
I had a couple questions reffering to how I remove the Ear cartilage on my foxes. I figured I would post a picture tutorial on how I do it!
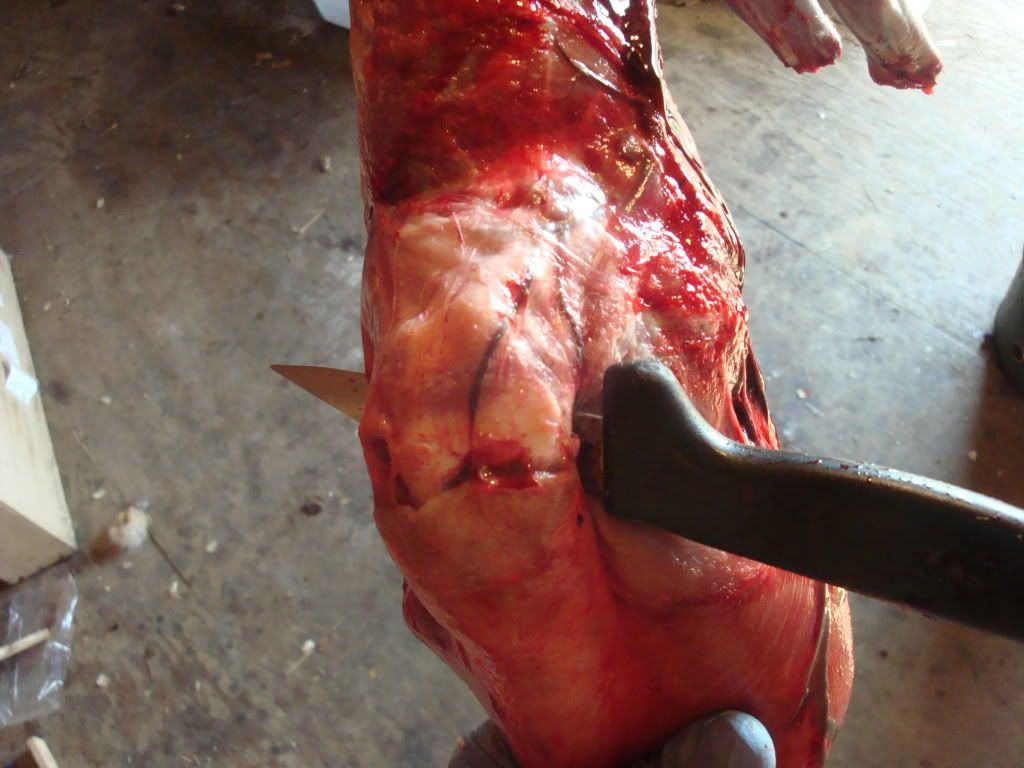
This coming picture shows where I worked the pelt down untill I hit the ears. Usually people would just cut through the cartilage at this point.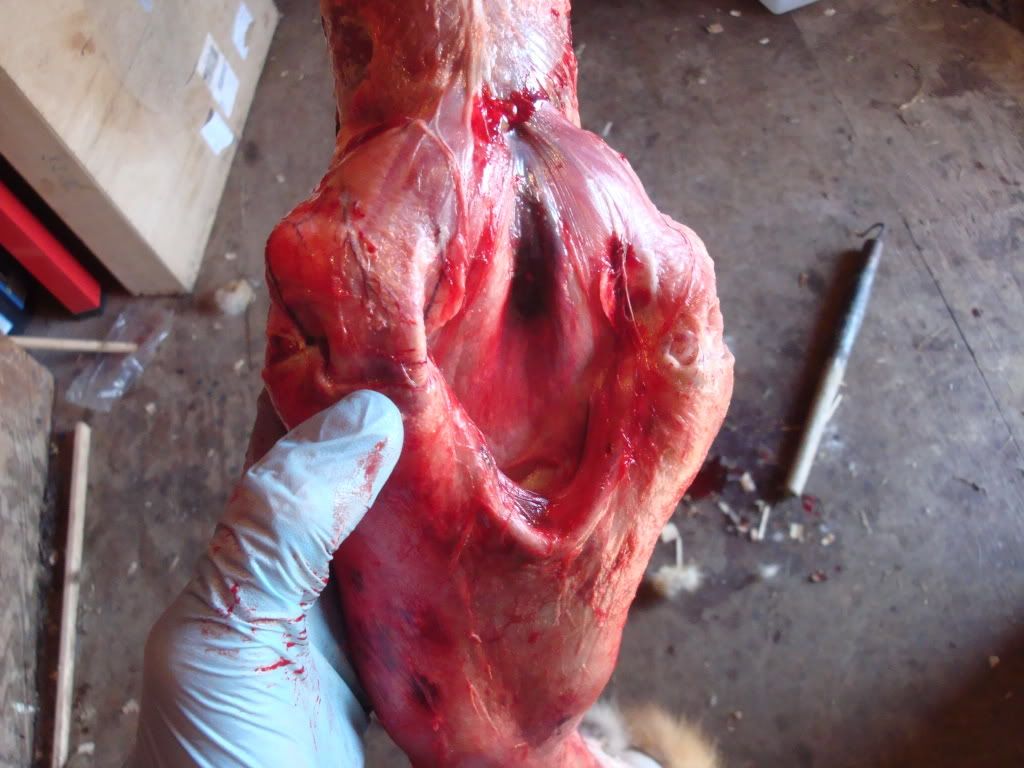
What I do at this point is right between the the 2 ears, I work my thumb into the pocket, and losen the skin as far down into the pocket as I can. You will notice while your working your thumb down, alot of resistence will be up at the ears. While I am working the pocket down deeper, I will also skin the top part of the ear skin down as far as I can off the cartilage.
you can see in the picture where the actualy ear skin (darker in color to the cartilage) meets with the cartilage. This is what you want to skin down as far as you can, while working the pocket in between the two ears.
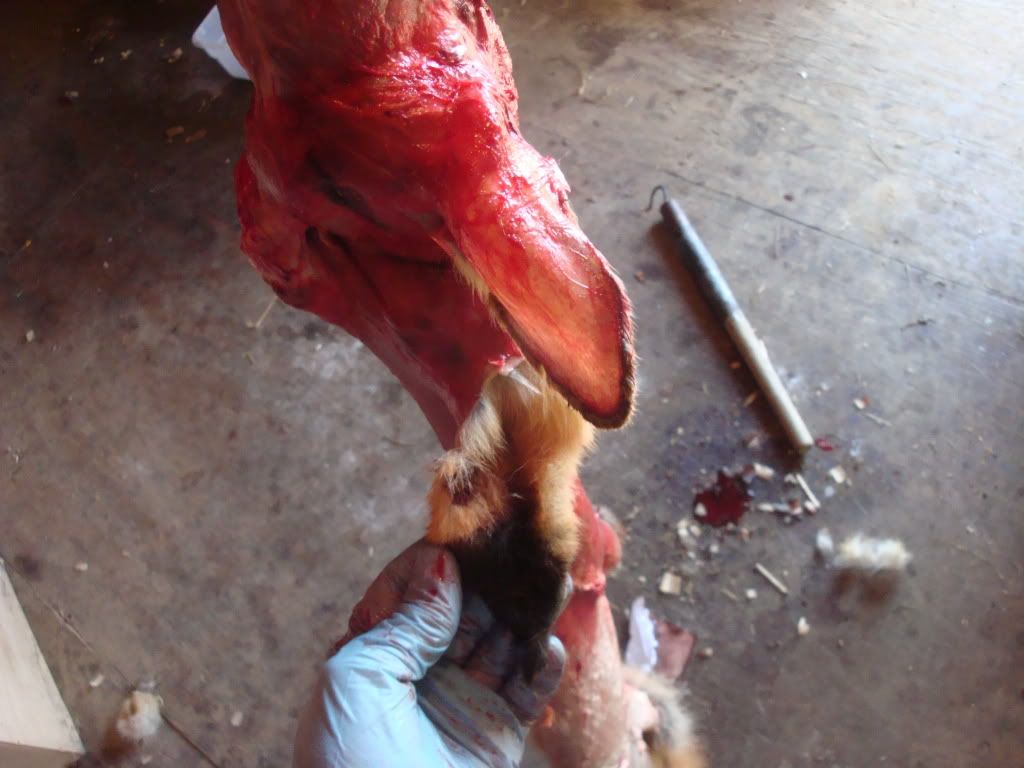
This picture shows whee I worked the top part of the ear skin down the cartilage to the point where I couldn't skin it down any further. Once at this point, take your knife and slide it through the behind of the ear. Be carfull to hug he bast of the skull as much as possible! You do not want to puncture the bottom of the ear, but rather slid the knife blade so that it passes BEHIND the ear, at the base of the head, as shown in the picture!
Now with the knife behind the ear, pull downward on your knife to create a hole passing behind the ear.

Then, grab a peice of rebar, long screw driver, or something similar, and insert it through the hole you created with he knife.
The picture shows where I inserted the rebar, and twisted it clock-wise. Don't twist to hard. If you start hearing popping, and you think your dislocated the ear from the head, you twisted a little to hard. When you start your goal is not to remove the ear from the head...the twisting loses things up quite a bit and allows for more workability!
Once the twisting is done, un twist, and remove your rebar or screw driver ect.
Now look behind the ear. Usually the twisting tears a hole in the skin BEHIND the ear. Thats a good thing as you do not want the inside skin of the ear. Only the top side that is black!
Here is what the hole looks like.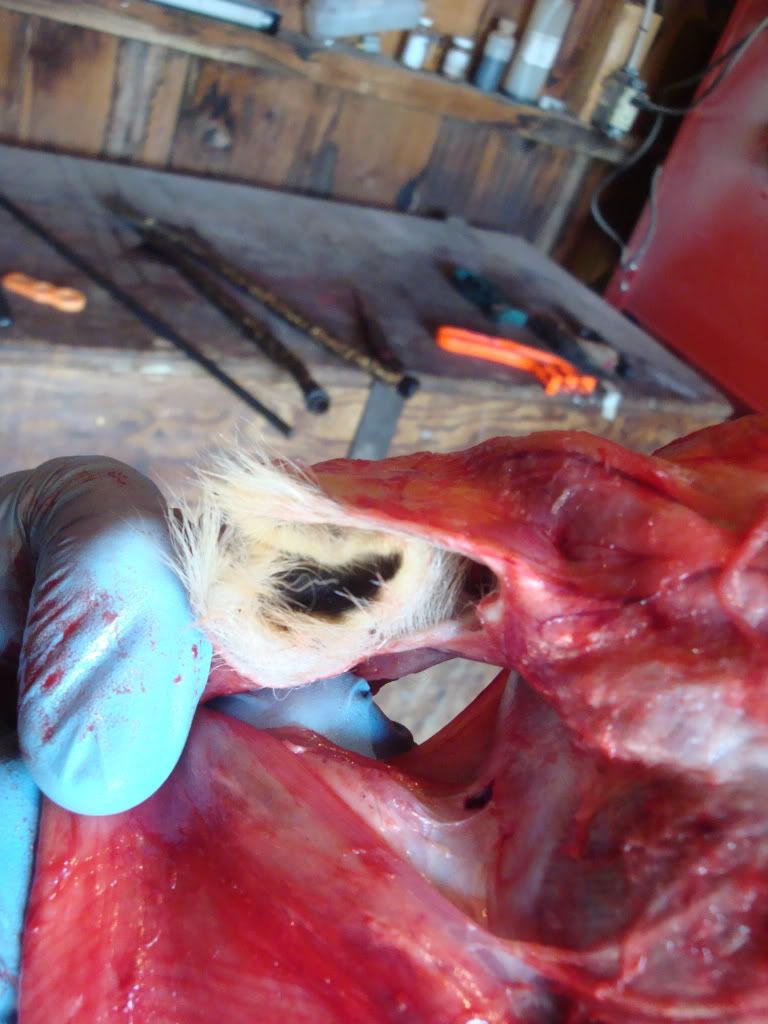
Usually the hole is not that big. Thats OK, as you want to enlarge it a bit to get 2 of your fingers in it. If the twisting did not create a hole, then cut a hole into the inside skin of the ear.
Now, with your index finger inside the hole, work your thumb down the op side of the ear skin. your goal is to pretty much tear the top black skin of the ear off the ear, in a natural way.
Maybe the pic will help explain what I'm saying.
You can see where I started working the top ear skin down the top side f the ear. Once you start reaching the edge of he ear, you will have to carfully and gently sperate the top side skin, from the botom sde skin. This is easily done with your fingers, as the ear skin is very fragile.
This is after I removed the top side of the skin, and I am done with the ear.
Once you start doing it it will see much less complicated doing it.
It is very hard for me to explain it all with good detail with letters, and a few pictures, but I hope yougetthe idea.
Once again, once you start doing it, it will all fall into place for you. you will mess up a few ears. Meaning you will probably tear the ears in half, and only get haf of the ear ect. But thats OK. The buyers don't pay for the ears!
Sorry as it isn't as detailed as I would have liked! Hopefully it will help you get the idea and concept of what your wanting to do. If you have the concept and you know what your trying to accomplish, you will be able to do it no sweat.
Hope this helps, and again I appoligize for it not being very detailed.
This coming picture shows where I worked the pelt down untill I hit the ears. Usually people would just cut through the cartilage at this point.
What I do at this point is right between the the 2 ears, I work my thumb into the pocket, and losen the skin as far down into the pocket as I can. You will notice while your working your thumb down, alot of resistence will be up at the ears. While I am working the pocket down deeper, I will also skin the top part of the ear skin down as far as I can off the cartilage.
you can see in the picture where the actualy ear skin (darker in color to the cartilage) meets with the cartilage. This is what you want to skin down as far as you can, while working the pocket in between the two ears.
This picture shows whee I worked the top part of the ear skin down the cartilage to the point where I couldn't skin it down any further. Once at this point, take your knife and slide it through the behind of the ear. Be carfull to hug he bast of the skull as much as possible! You do not want to puncture the bottom of the ear, but rather slid the knife blade so that it passes BEHIND the ear, at the base of the head, as shown in the picture!
Now with the knife behind the ear, pull downward on your knife to create a hole passing behind the ear.
Then, grab a peice of rebar, long screw driver, or something similar, and insert it through the hole you created with he knife.
The picture shows where I inserted the rebar, and twisted it clock-wise. Don't twist to hard. If you start hearing popping, and you think your dislocated the ear from the head, you twisted a little to hard. When you start your goal is not to remove the ear from the head...the twisting loses things up quite a bit and allows for more workability!
Once the twisting is done, un twist, and remove your rebar or screw driver ect.
Now look behind the ear. Usually the twisting tears a hole in the skin BEHIND the ear. Thats a good thing as you do not want the inside skin of the ear. Only the top side that is black!
Here is what the hole looks like.
Usually the hole is not that big. Thats OK, as you want to enlarge it a bit to get 2 of your fingers in it. If the twisting did not create a hole, then cut a hole into the inside skin of the ear.
Now, with your index finger inside the hole, work your thumb down the op side of the ear skin. your goal is to pretty much tear the top black skin of the ear off the ear, in a natural way.
Maybe the pic will help explain what I'm saying.
You can see where I started working the top ear skin down the top side f the ear. Once you start reaching the edge of he ear, you will have to carfully and gently sperate the top side skin, from the botom sde skin. This is easily done with your fingers, as the ear skin is very fragile.
This is after I removed the top side of the skin, and I am done with the ear.
Once you start doing it it will see much less complicated doing it.
It is very hard for me to explain it all with good detail with letters, and a few pictures, but I hope yougetthe idea.
Once again, once you start doing it, it will all fall into place for you. you will mess up a few ears. Meaning you will probably tear the ears in half, and only get haf of the ear ect. But thats OK. The buyers don't pay for the ears!
Sorry as it isn't as detailed as I would have liked! Hopefully it will help you get the idea and concept of what your wanting to do. If you have the concept and you know what your trying to accomplish, you will be able to do it no sweat.
Hope this helps, and again I appoligize for it not being very detailed.