Post by bill1958 on Dec 18, 2010 2:16:16 GMT -5
Skinning a Racoon with Pics
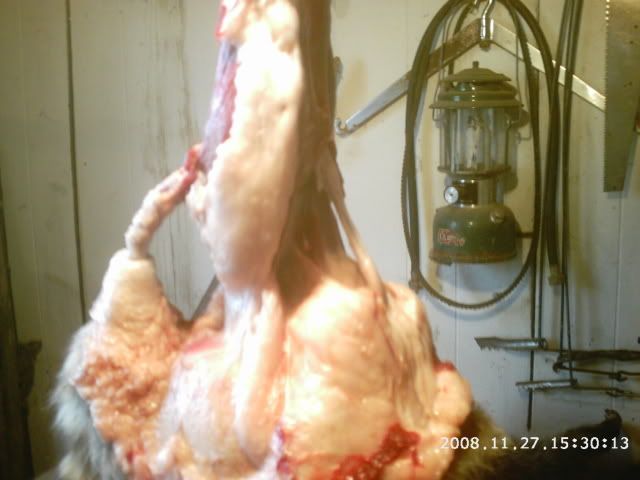
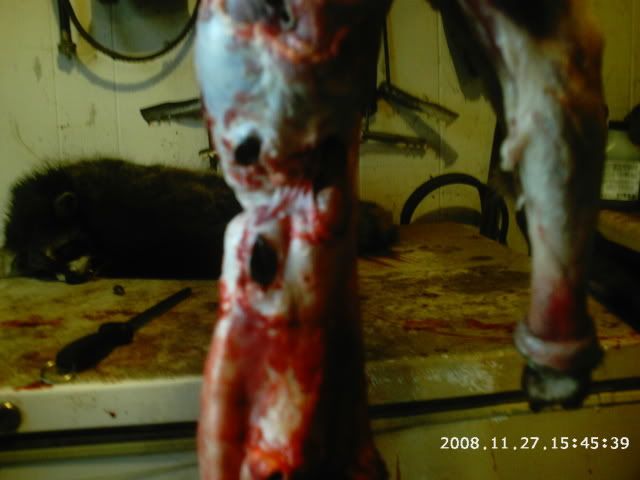
The first thing we do is hang the coon up and get the legs ringed at the ankles. Once we have the ankles ringed we start our first cut down each leg. The cut should be taken just under the vent and just above the testes if male. The following picture shows this cut.
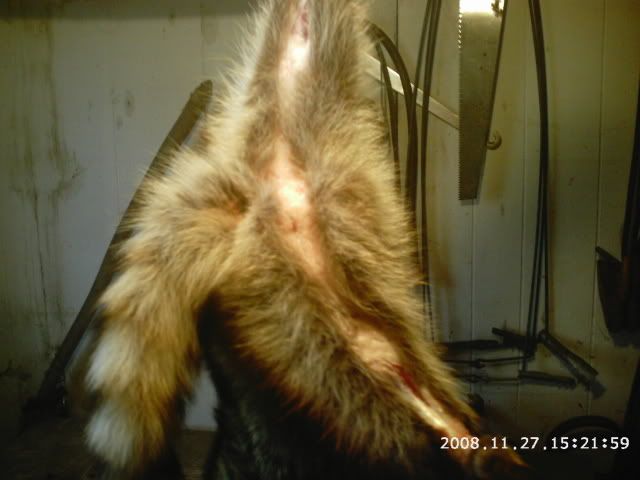
The next step is to ring the vent.
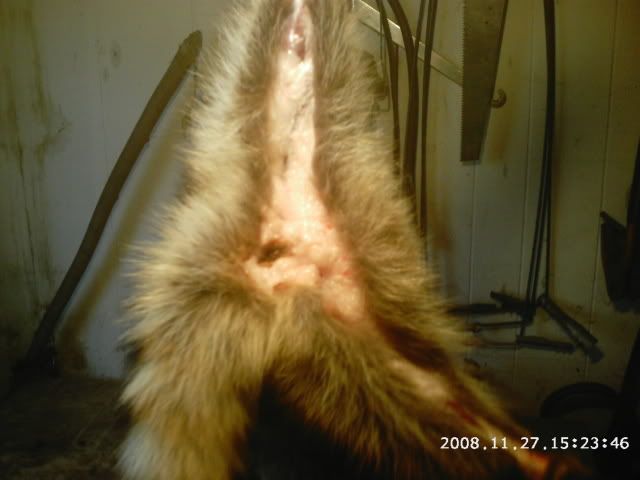
Once we have the cut from leg to leg and the vent ringed then we can start pulling the fur from ankles to the tail area.
Once we get to this point it is time to cut the testies off and this will free up the hide to be easily pulled down. Once that is accomplished we now free the hide around the tail. In hopes of pulling the tail bone from the tail.
Once we have the above accomplished we can then take our tail puller and try and remove the tail bone. On this step i had a boo boo i pulled the tail from the old boar. This will happen from time to time but if this happens. Just cut the tail bone while still attached to the carcase off. And we will finish the tail pulling once the hide is free from the carcase.
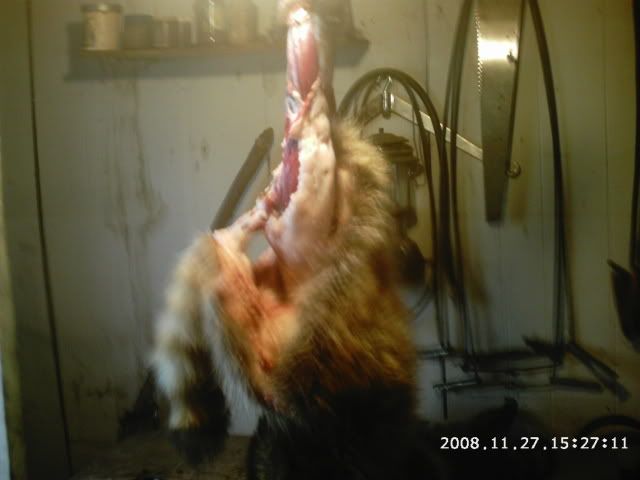
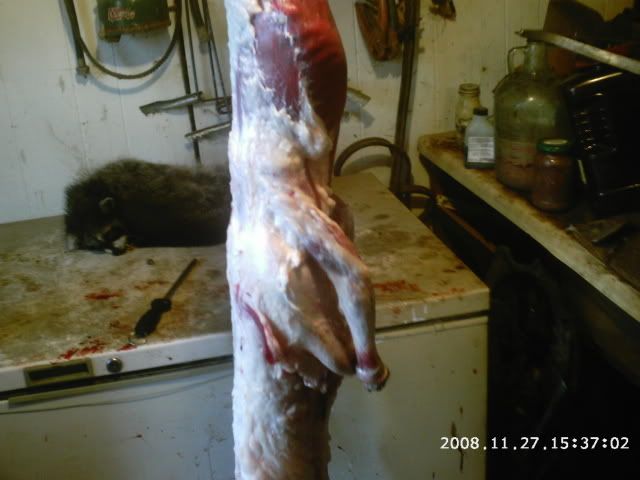
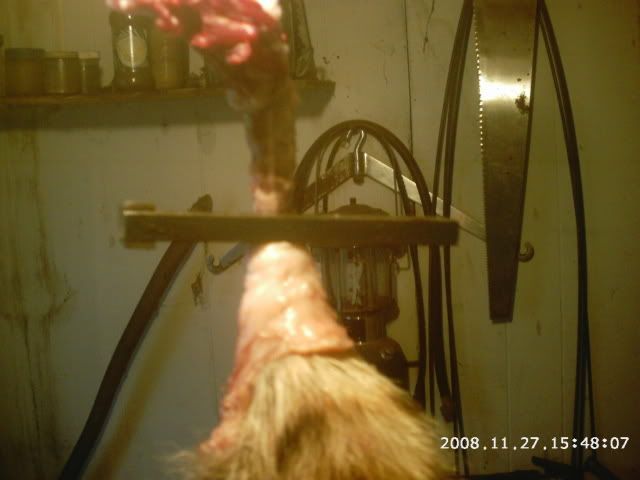
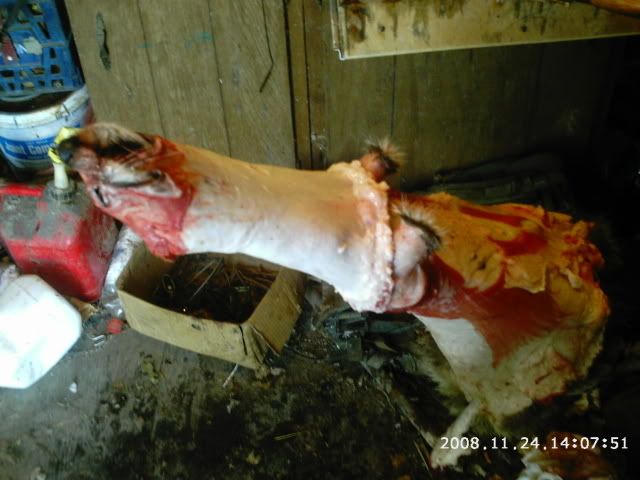
Since we have cut the tail bone off carcase with fur still attached we will continue to skin the coon. We will continue to pull the hide down towards the front shoulders. Once at the shoulders we can work the skin around the front legs while pulling the legs free. Ring the front feet and pull the leg free of the hide as in the picture below.
Once you have the legs free from the hide. Now we will continue to pull the hide down towards the head. You will notice it will come to a point where it wont pull any longer. When this happens Start to look for the ear butts. They will be a whiter color than the other tissue around the head. Once you find them cut straight down at the back side of the ear butts. Clear to the skull plate this will release the ears.
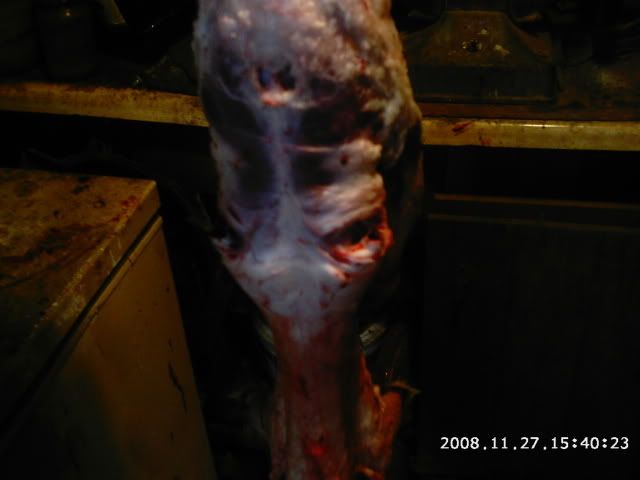
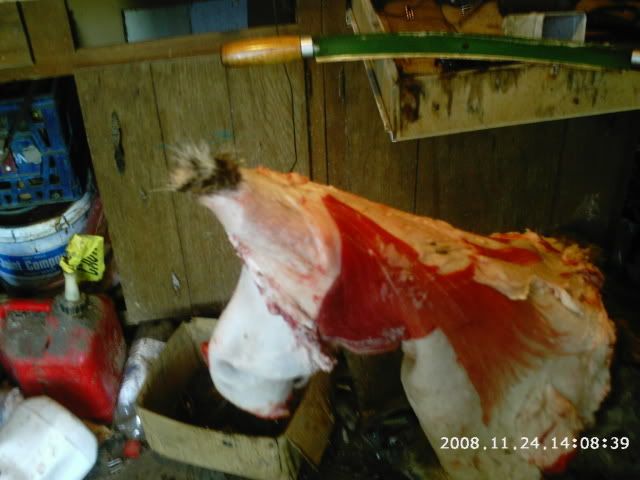
Once the ears are free you can continue to pull the hide down until it comes to a stop once again. This will be the eye sockets. They will be white in color in comparison to the surrounding skull material. Notice in the picture you can see the color change where the eye sockets are.
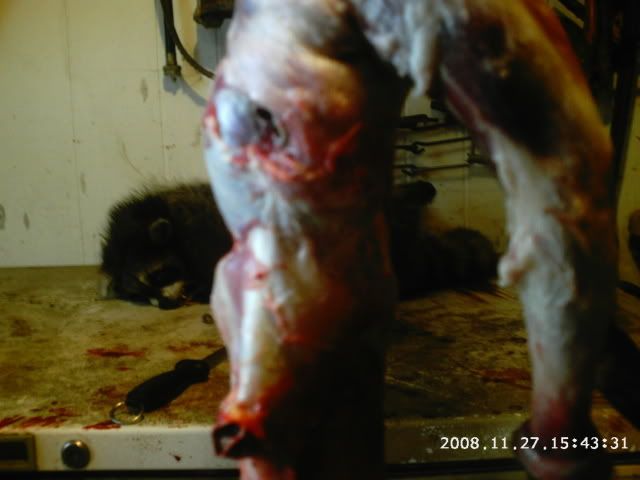
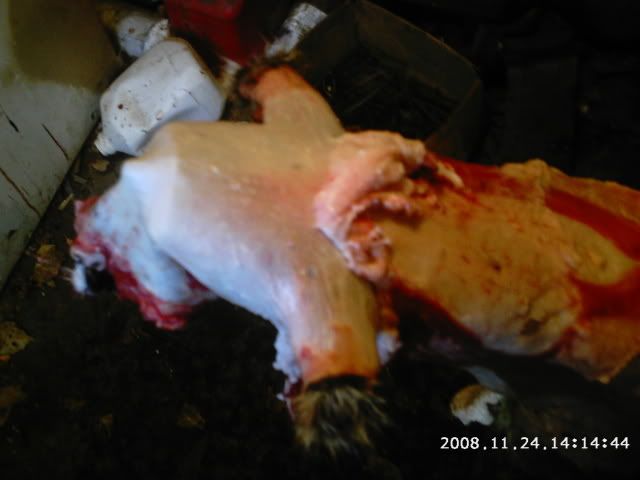
Once you see this color change cut behind the white area slowly. Cutting straight down in to the skull. You want the eyelids to stay attached. Just take your time cutting the eye free. Once they are free it will look like the picture below.
Once to this point you can release the lips from the jaw area as well. Continue to skin the skull until you reach the nose area. Once there you can snap pull the hide free from the nose. But if it is to tough to pull free. Get as close to the end of the nose as you can a cut straight through the nose cartilage releasing the hide from the carcase.
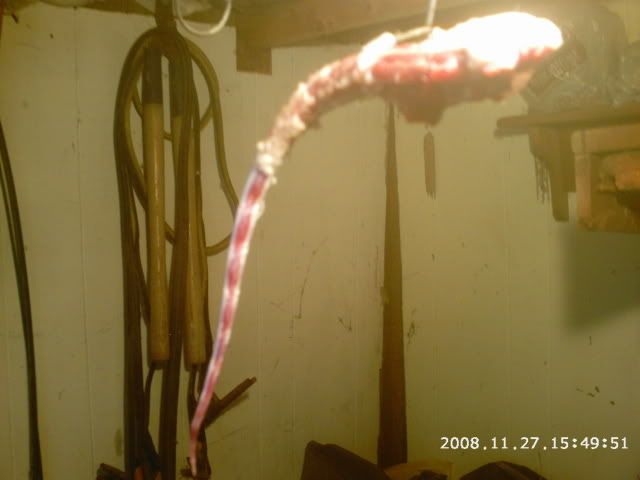
Now that we have the hide released from the carcase we can concentrate on pulling that stubborn tail. Hang the tail bone in your sinch loop. Once you have it secured then use the tail puller to lock on to the tail bone just above the hide.
Once you have the tail puller in place you can give it a real fast jerk straight down and it should release the tail bone from the fur. The final step should look like this.
Now you have skinned the coon and the next step is covered in the how to flesh a coon thread. I hope this has been a help to all you new trappers.
Fleshing a coon
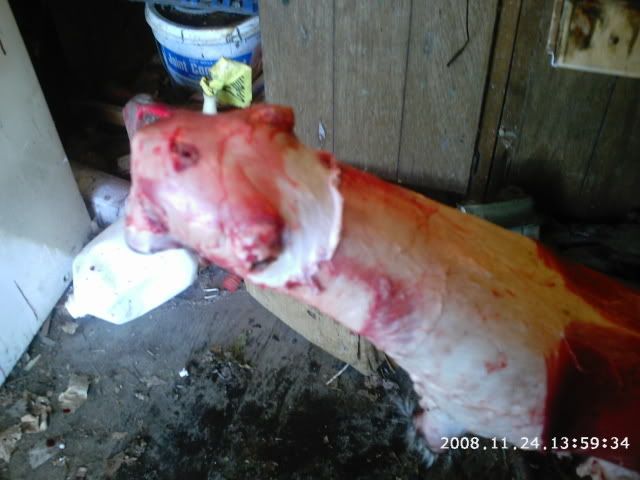
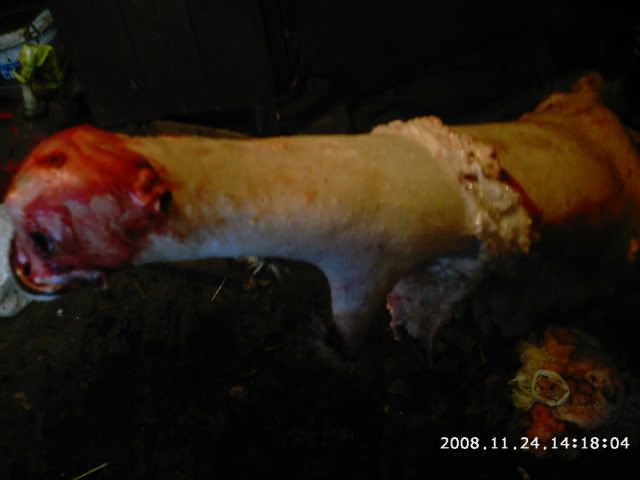
The first pic shows where i have all ready skinned the coon and have set him on my fleshing beam.
The first thing i do is take my small pocket knife which i keep razor sharp. Then once i have the edge sharp enough on the knife i will start under the ears on the hide. I will start shaving down through the cartilage untill i see the hide showing. Then its just a matter of ringing the entire coons neck. I will shave it down about 1 1/2 to 2 inches from the ears.
The second pic shows where i will take the fleshing knife and starting at the point where i ended with my pocket knife. I will start to push and shave if i have to to get the flesh and fat to move down the neck to the front shoulder area. The reason for this is if you keep going the skin is real thin in the arm pit area of the front legs. And this will lead to cutting holes as the skin pinches in this area.
The third pic shows where i have reached the arm pit areas. Once at this area i wil take the hide and position the arm holes over the horn of my beam. Once i have the arm hole over the end of the beam. Out comes my pocket knife. I will do to the arm just like i did to the neck. I will ring it and flesh it down taking my time not to cut the hide. Once i have both arm pits ringed and fleshed down the the area i ended up at with my fleshing knife. Then i will cut the flesh that is loose from the arm pits.
Once we have that cut then we can put the hide on the beam as before. And once we have it set on beam we can continue to flesh the hide. Now we wont have to worry about cutting holes in the pit area. So now thats the hardest part to fleshing.
Once we are past the pits its smooth sailing to the tail. Just push and scrap the fat and flesh down the beam as you go. Here is a pic when we are about half way down the hide notice all the fat and flesh is ringing the hide. All the grease and loose fat goes with it keeping the hide nice and clean as we go.
Once you get to the tail split it and flesh the tail gently. As if you use to much pressure you can cut a tail off. So be care full around the tail. Once your done with the tail all the meat and fat and fleshings will be at the bottom of the beam. The hide will be clean and ready to be stretched.
I prefer to use wood but some wire so i will leave that up to your own preferance's.
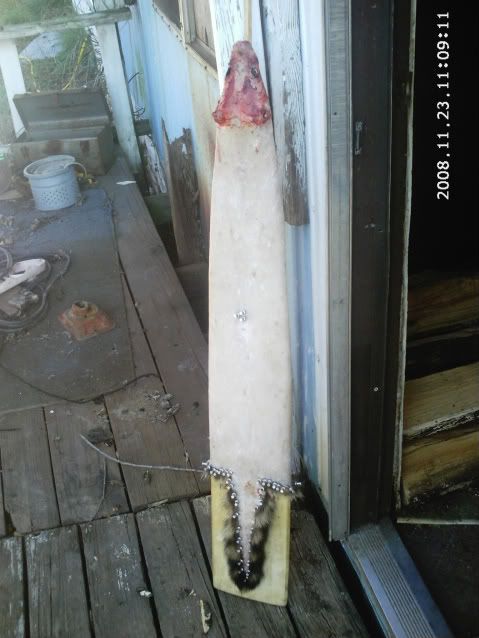
And the finished product will look like this. On wood!!
I hope this has been help full and dont forget to ask any questions you may have!!
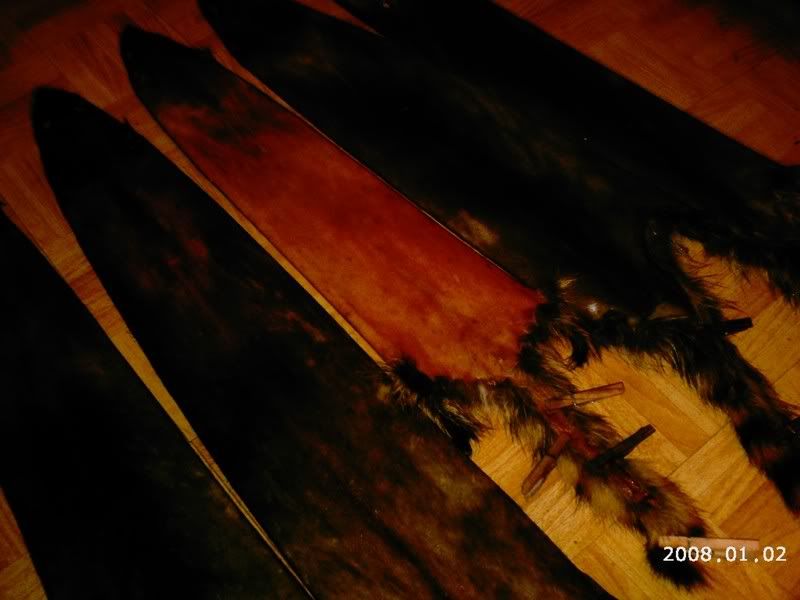
blue and prime coon
Skunks and gland removal
I caught a small skunk in a duffers trap today but didn't take the camera. But i wanted to show everyone the skunks glands. And how i remove them.
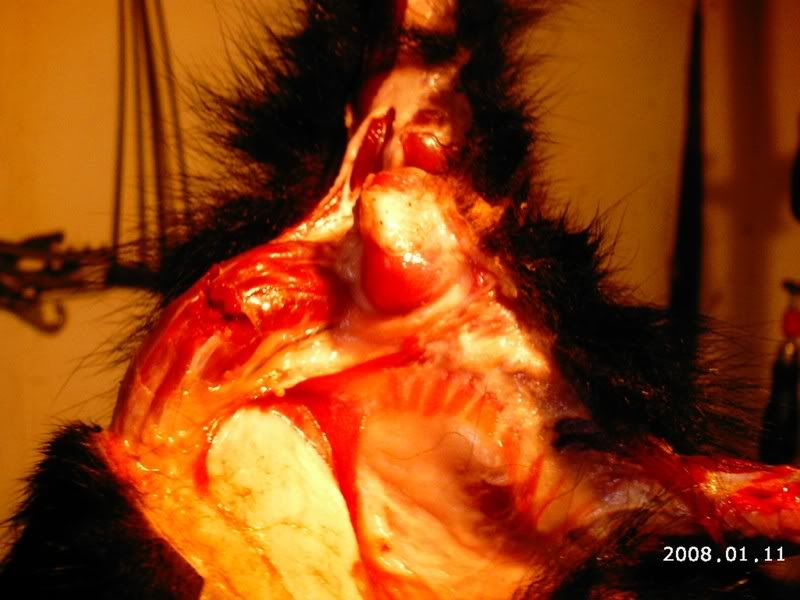
The picture above shows where the glands lay along side of the anus. Just at the base of the tail. I will split down both legs to the base of the tail. Then when you separate the skin from the carcase along these cuts. Being gentle when close to the tail. You will see the glands attached to the anus. Now if you take and gently pull the glands up and slice the membrane holding them to the body they will start to pull straight up then when you come to the anus cut thru it. Then as your pulling up on the glands and your thru the anus they will skin right off.
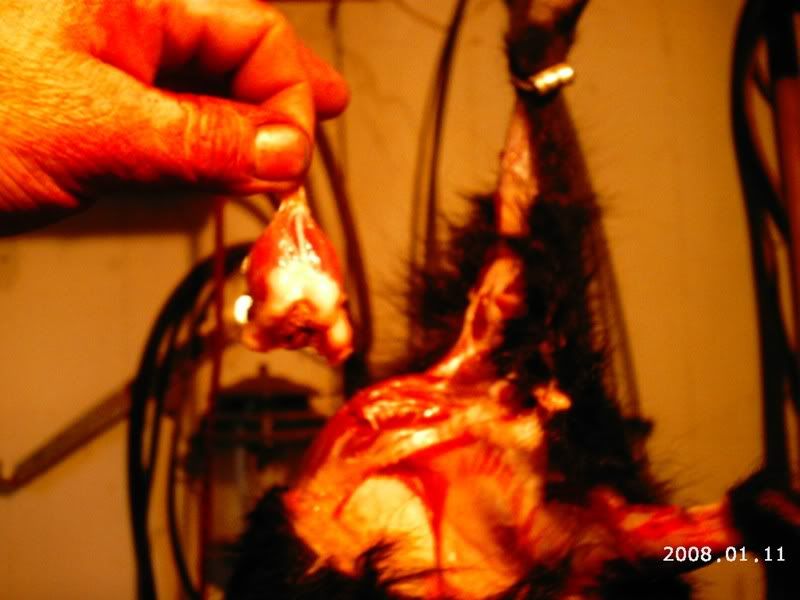
Then you can put them to the side and skin as you would any other animal. After wards you can take and use a syringe and empty them of there essence. I hope this helps!
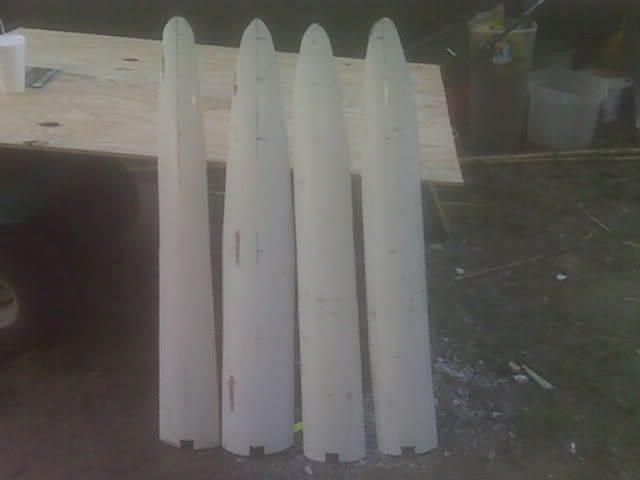
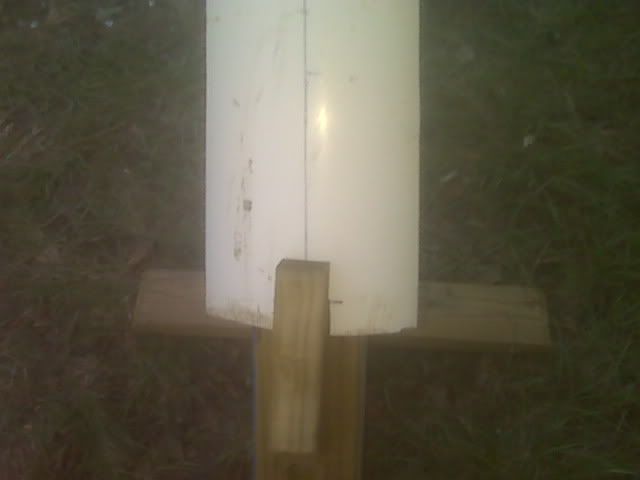
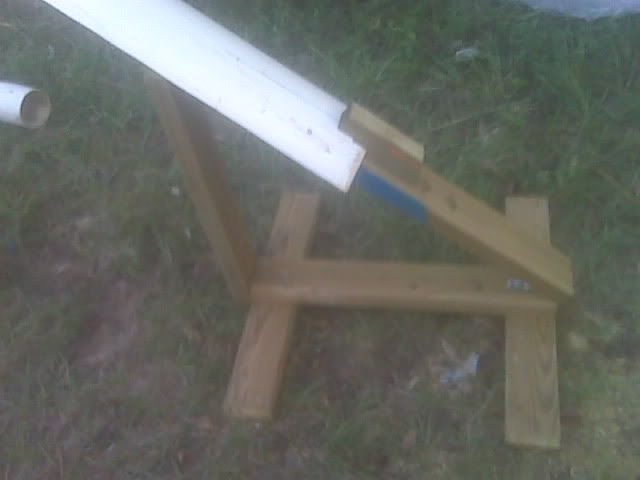
making a pvc fleshing beam
www.taxidermy.net/forum/index.php?topic=136184.msg933514#msg933514
Built this today and thought I would share. I wish I could take credit for the design but I can't. I got it from another forum that I frequent. Anyway here it is with a few of the beams that interchange with it. The frame is made from pressure treated 2X4s. The beams are made from 10" PVC. I wanted 12" but the 10" I got for free. I used the FHA fur handlers guide to get the measurements for the 4 beams I made. They are otter, coon, coyote, and bobcat. I just used the measurements required on wood stretchers for each animal. Hope this gives some ideas.
Beaver Patterns
I called Fur Harvesters Auction today and asked for beaver patterns the man I spoke to took down my name and address and is sending me 2 copies. It took less then 2 minutes and the patterns are free.
For those that don't know what beaver patterns are I will try and explain. A beaver is open skinned and stretched on a board in an oval shape. The length of the pelt determines the size of the oval. Beaver patterns are stencils to help you draw the oval on the piece of board. I believe there are 9 sizes of ovals they provide you with. These are to help get your beaver stretched to its proper size and presented in the most consistent and profitable manner. Below I an including Fur Harvesters contact info.
Email: fha@furharvesters.com Telephone: (705) 495-4688
Fax: (705) 495-3099
MAIL:P.O. Box 1455, 1867 Bond StreetNorth Bay, Ontario, Canada P1B 8K
Making Stretchers
cahe.nmsu.edu/pubs/_l/l-101.pdf page 5
and www.coyotegods.com/ubb/showflat.php?Number=1873149
Fur harvesters fur handling
Here is a link to fur harvesters. On fur handling.
www.furharvesters.com/pelthandling.htm
Here is the link to the fur handlers guide on pdf file
www.furharvesters.com/PDF/pelthandling.pdf
hope this helps
The first thing we do is hang the coon up and get the legs ringed at the ankles. Once we have the ankles ringed we start our first cut down each leg. The cut should be taken just under the vent and just above the testes if male. The following picture shows this cut.
The next step is to ring the vent.
Once we have the cut from leg to leg and the vent ringed then we can start pulling the fur from ankles to the tail area.
Once we get to this point it is time to cut the testies off and this will free up the hide to be easily pulled down. Once that is accomplished we now free the hide around the tail. In hopes of pulling the tail bone from the tail.
Once we have the above accomplished we can then take our tail puller and try and remove the tail bone. On this step i had a boo boo i pulled the tail from the old boar. This will happen from time to time but if this happens. Just cut the tail bone while still attached to the carcase off. And we will finish the tail pulling once the hide is free from the carcase.
Since we have cut the tail bone off carcase with fur still attached we will continue to skin the coon. We will continue to pull the hide down towards the front shoulders. Once at the shoulders we can work the skin around the front legs while pulling the legs free. Ring the front feet and pull the leg free of the hide as in the picture below.
Once you have the legs free from the hide. Now we will continue to pull the hide down towards the head. You will notice it will come to a point where it wont pull any longer. When this happens Start to look for the ear butts. They will be a whiter color than the other tissue around the head. Once you find them cut straight down at the back side of the ear butts. Clear to the skull plate this will release the ears.
Once the ears are free you can continue to pull the hide down until it comes to a stop once again. This will be the eye sockets. They will be white in color in comparison to the surrounding skull material. Notice in the picture you can see the color change where the eye sockets are.
Once you see this color change cut behind the white area slowly. Cutting straight down in to the skull. You want the eyelids to stay attached. Just take your time cutting the eye free. Once they are free it will look like the picture below.
Once to this point you can release the lips from the jaw area as well. Continue to skin the skull until you reach the nose area. Once there you can snap pull the hide free from the nose. But if it is to tough to pull free. Get as close to the end of the nose as you can a cut straight through the nose cartilage releasing the hide from the carcase.
Now that we have the hide released from the carcase we can concentrate on pulling that stubborn tail. Hang the tail bone in your sinch loop. Once you have it secured then use the tail puller to lock on to the tail bone just above the hide.
Once you have the tail puller in place you can give it a real fast jerk straight down and it should release the tail bone from the fur. The final step should look like this.
Now you have skinned the coon and the next step is covered in the how to flesh a coon thread. I hope this has been a help to all you new trappers.
Fleshing a coon
The first pic shows where i have all ready skinned the coon and have set him on my fleshing beam.
The first thing i do is take my small pocket knife which i keep razor sharp. Then once i have the edge sharp enough on the knife i will start under the ears on the hide. I will start shaving down through the cartilage untill i see the hide showing. Then its just a matter of ringing the entire coons neck. I will shave it down about 1 1/2 to 2 inches from the ears.
The second pic shows where i will take the fleshing knife and starting at the point where i ended with my pocket knife. I will start to push and shave if i have to to get the flesh and fat to move down the neck to the front shoulder area. The reason for this is if you keep going the skin is real thin in the arm pit area of the front legs. And this will lead to cutting holes as the skin pinches in this area.
The third pic shows where i have reached the arm pit areas. Once at this area i wil take the hide and position the arm holes over the horn of my beam. Once i have the arm hole over the end of the beam. Out comes my pocket knife. I will do to the arm just like i did to the neck. I will ring it and flesh it down taking my time not to cut the hide. Once i have both arm pits ringed and fleshed down the the area i ended up at with my fleshing knife. Then i will cut the flesh that is loose from the arm pits.
Once we have that cut then we can put the hide on the beam as before. And once we have it set on beam we can continue to flesh the hide. Now we wont have to worry about cutting holes in the pit area. So now thats the hardest part to fleshing.
Once we are past the pits its smooth sailing to the tail. Just push and scrap the fat and flesh down the beam as you go. Here is a pic when we are about half way down the hide notice all the fat and flesh is ringing the hide. All the grease and loose fat goes with it keeping the hide nice and clean as we go.
Once you get to the tail split it and flesh the tail gently. As if you use to much pressure you can cut a tail off. So be care full around the tail. Once your done with the tail all the meat and fat and fleshings will be at the bottom of the beam. The hide will be clean and ready to be stretched.
I prefer to use wood but some wire so i will leave that up to your own preferance's.
And the finished product will look like this. On wood!!
I hope this has been help full and dont forget to ask any questions you may have!!
blue and prime coon
Skunks and gland removal
I caught a small skunk in a duffers trap today but didn't take the camera. But i wanted to show everyone the skunks glands. And how i remove them.
The picture above shows where the glands lay along side of the anus. Just at the base of the tail. I will split down both legs to the base of the tail. Then when you separate the skin from the carcase along these cuts. Being gentle when close to the tail. You will see the glands attached to the anus. Now if you take and gently pull the glands up and slice the membrane holding them to the body they will start to pull straight up then when you come to the anus cut thru it. Then as your pulling up on the glands and your thru the anus they will skin right off.
Then you can put them to the side and skin as you would any other animal. After wards you can take and use a syringe and empty them of there essence. I hope this helps!
making a pvc fleshing beam
www.taxidermy.net/forum/index.php?topic=136184.msg933514#msg933514
Built this today and thought I would share. I wish I could take credit for the design but I can't. I got it from another forum that I frequent. Anyway here it is with a few of the beams that interchange with it. The frame is made from pressure treated 2X4s. The beams are made from 10" PVC. I wanted 12" but the 10" I got for free. I used the FHA fur handlers guide to get the measurements for the 4 beams I made. They are otter, coon, coyote, and bobcat. I just used the measurements required on wood stretchers for each animal. Hope this gives some ideas.
Beaver Patterns
I called Fur Harvesters Auction today and asked for beaver patterns the man I spoke to took down my name and address and is sending me 2 copies. It took less then 2 minutes and the patterns are free.
For those that don't know what beaver patterns are I will try and explain. A beaver is open skinned and stretched on a board in an oval shape. The length of the pelt determines the size of the oval. Beaver patterns are stencils to help you draw the oval on the piece of board. I believe there are 9 sizes of ovals they provide you with. These are to help get your beaver stretched to its proper size and presented in the most consistent and profitable manner. Below I an including Fur Harvesters contact info.
Email: fha@furharvesters.com Telephone: (705) 495-4688
Fax: (705) 495-3099
MAIL:P.O. Box 1455, 1867 Bond StreetNorth Bay, Ontario, Canada P1B 8K
Making Stretchers
cahe.nmsu.edu/pubs/_l/l-101.pdf page 5
and www.coyotegods.com/ubb/showflat.php?Number=1873149
Fur harvesters fur handling
Here is a link to fur harvesters. On fur handling.
www.furharvesters.com/pelthandling.htm
Here is the link to the fur handlers guide on pdf file
www.furharvesters.com/PDF/pelthandling.pdf
hope this helps