
Post by minifoxer on Dec 4, 2011 12:42:59 GMT -5
Figured since the DVD's didn't arrive yet, I would post a picture thread on skinning a fox for you, to help out untill the DVD's arrive!
Bobo, I also included a section for removing the cartilage you asked me about!
Here we are!
First off, this is a fox. Not a coon or mink, or muskrat ect. However, I skin my coon, mink skunk ect the same way I skin my fox. Exept fox is the only critter I remove the ear cartilage from.
First thing I do is lop off the feet at the elbows of the criter. This saves ime, and makes things easier once you get to where you have to skin the legs out!
I also put a rubber glove over the foxes head, starting at its nose, and fasten it behind his ears.
This keeps the pelt free of blood. Most the blood comes out of the nose/head area when skinning. Keeping the glover over its head keeps the blood getting all over the fur!
Here's the pic. of the fox before any cuts are made.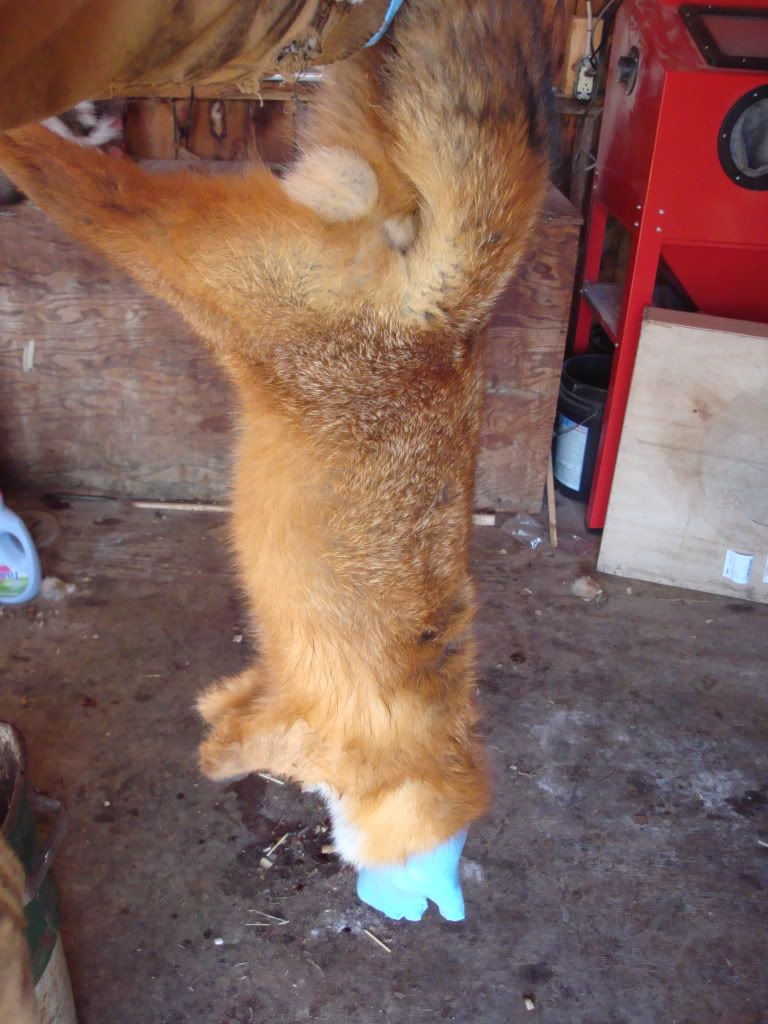
here is the picture of the first cut that is made.
You can see it follows the fur line (from where the fur is white, to orange) it starts at the heel of the foot, and goes basically in a straight line, passes right below the testi's, to the oposite heel.
Now its ime for the second cut.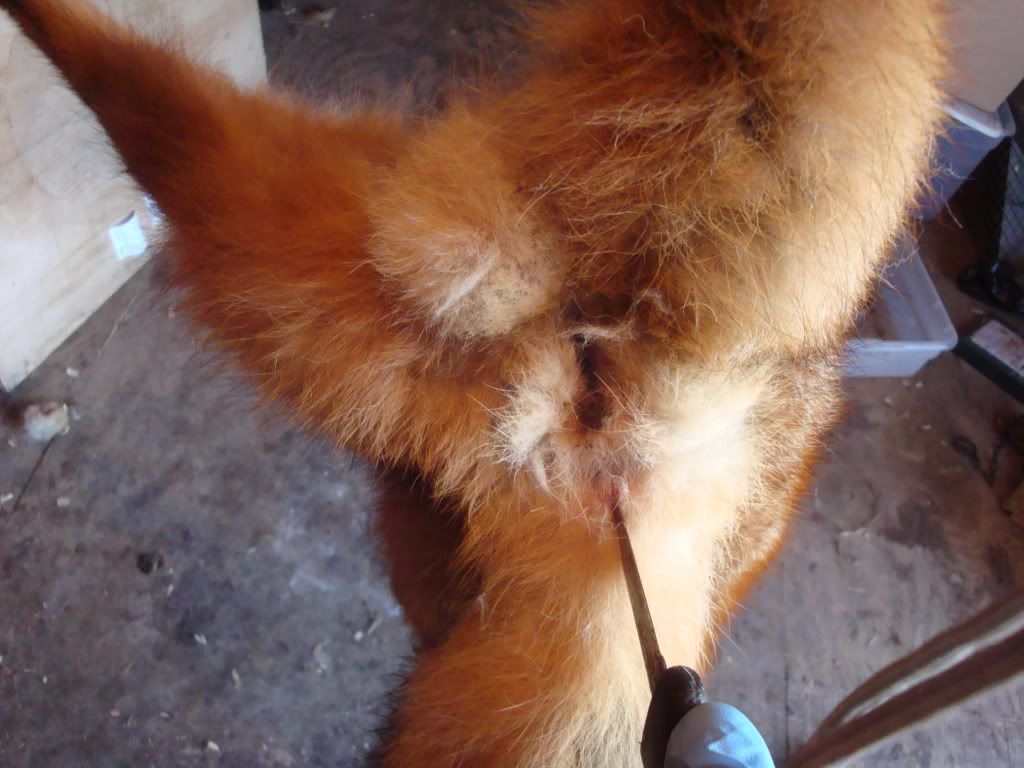
This starts at the tip of the anal, and goes in a straight line to where it connects with the first cut you made...right below the testi's. Do this on both sides of the anal. One cut will go on the right side of the anal, and end on the right side of the testis, and the other cut will start on the left side of the anal, and end where it connects with the first cut...on the left side of the test's.
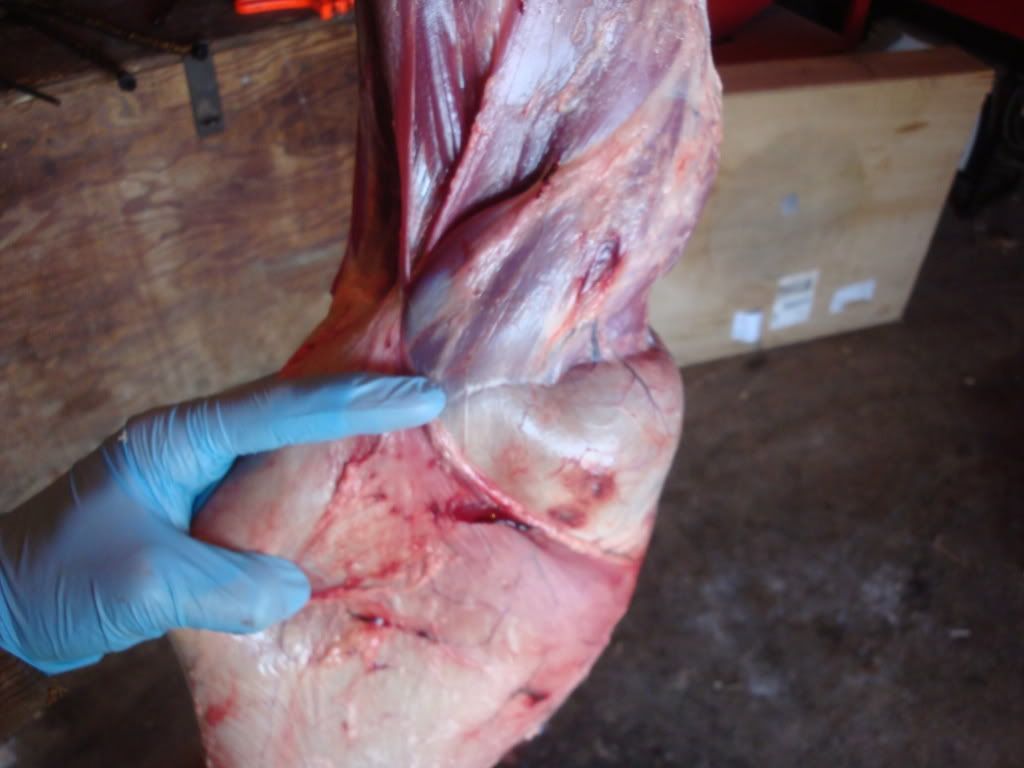
Now it's time for some finger work. Work the hide loose, all around the cuts you made.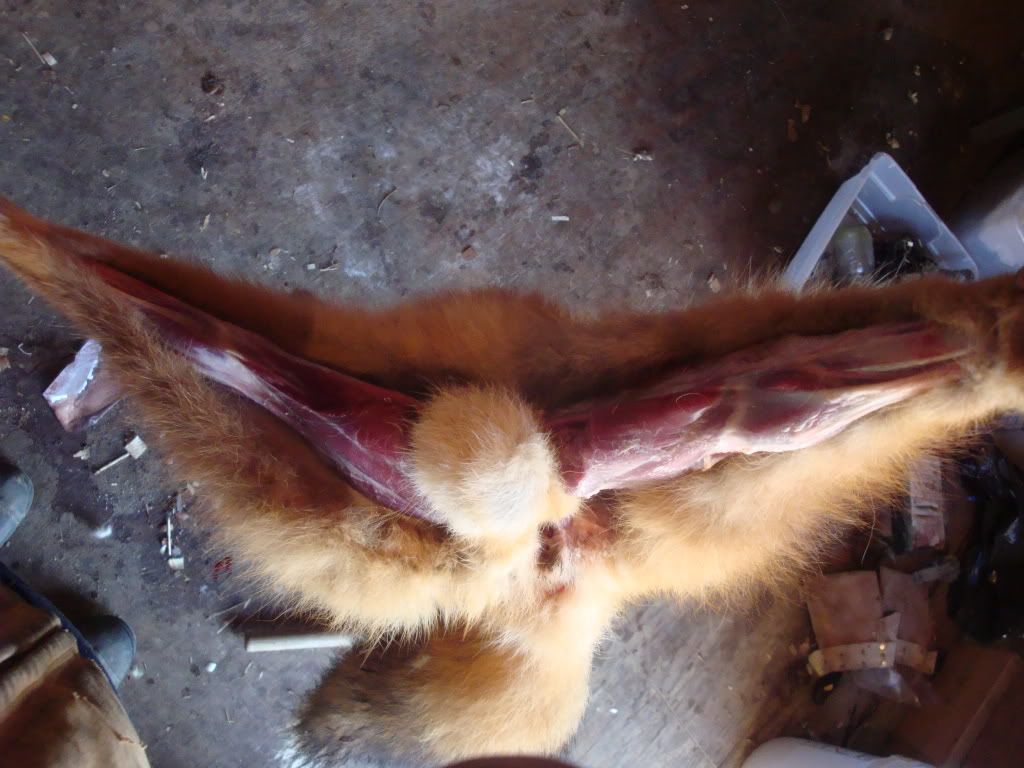
This is what it should look like. You can see that the furst cuts you made, leaves the tesit's and anal on the carcass. You seperated them from the hide. This is what you want.

In this picture you can see that I worked the hide all around the hind legs. It shows the space between them, and it also shows where you cut the leg skin loose. This will loosen the hide up alot.
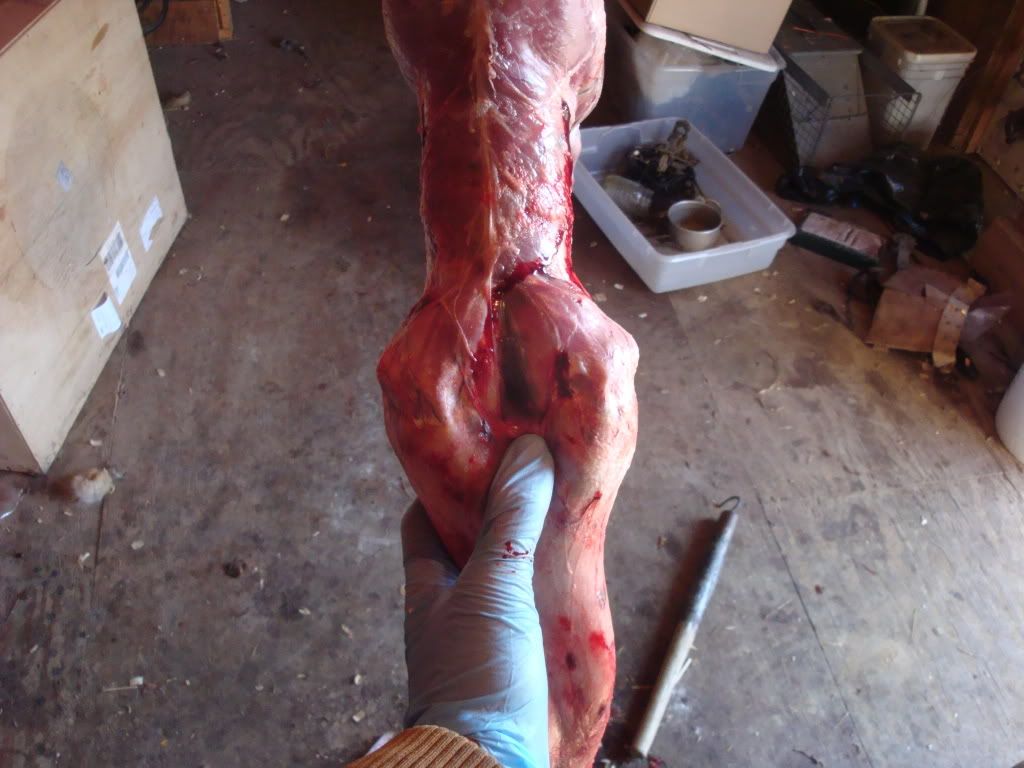
This shows the fox after the leg skin is cut.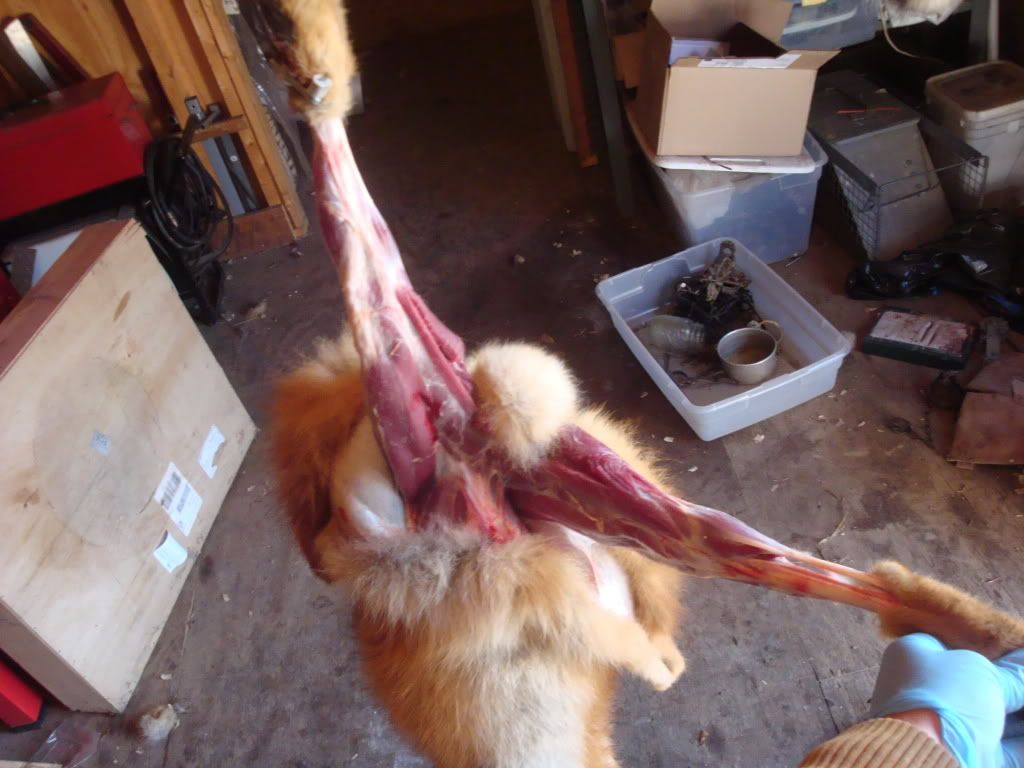
Now continue working the hide down, and all the way around to the backside of the fox, at the base of the tail. loosen the hide down the back bone underneath the tail. This will help you alot when you strip the tail off the tail bone.
That is your next step.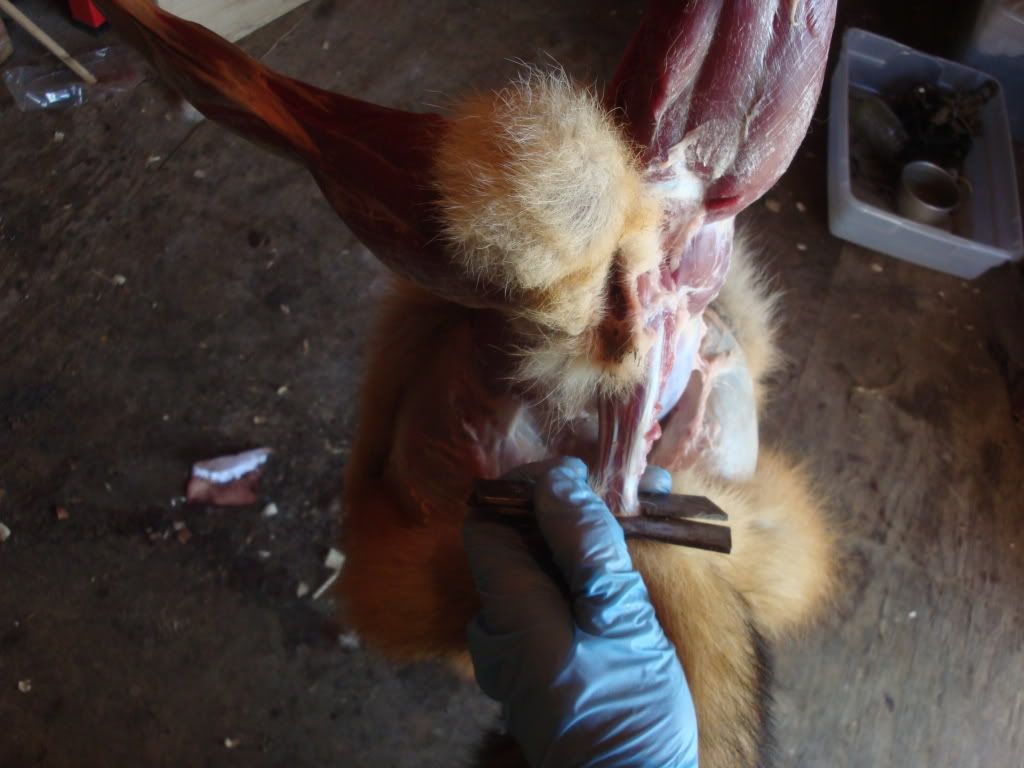
Grab your tail puller, and strip the tail off the bone.
Then grab your tail zipper, (or use a knife) and zip the tail so that the tail is not a enclosed tobe, but open, so it can properly dry!
Now you can work the hide all the way down to the front legs. once you get to the front legs try to work the skin around the legs as far as possible.
You can see in the picture I worked the hide around the front legs as much as I could. if you worked the hide around the front leg, There should be membrain (not skin) seperating either side of the arm pit.
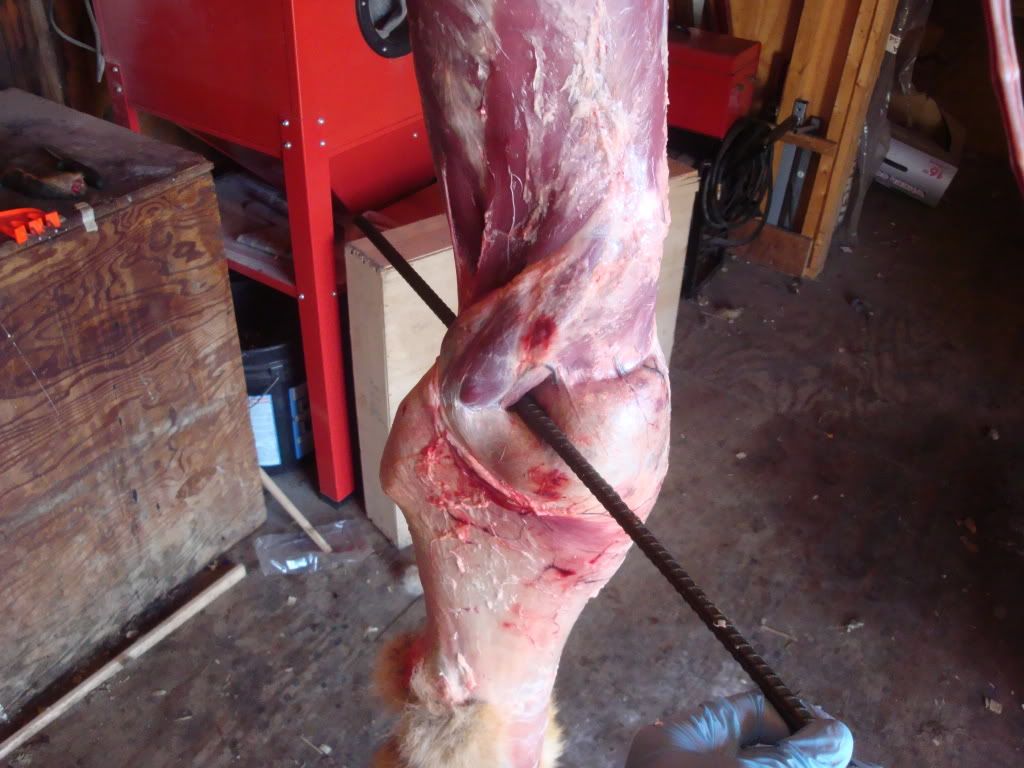
Thats where I take a peice of rebar, or long screw driver, and insert it, behind the arm pit, out the other side through the membrain. Be carefull,as you dont want to rip the skin while forcing the rebar through.
Then just pull the rabar down untill it peels the leg skin off the legs. And thats all there is to skinning out the front legs!
Do that on both front legs.
Next work the hide down the neck till you reach the base of the head/ears.
This is where on coon, or anything other then a long haired K9, I would just cut right through the cartilage. However, I prefer to remove the cartilage on my FOX and COYOTE...nothing else, though.
I will make a seperate post dedicated to ONLY the removal of the cartilage.
Now that you can see the start of the ears, just cut right through the cartilage. ( for foxes or coyotes, you can remove the cartilage..I do prefer too, as it drys MUCH faster, and prevents any chancesof the the ears tainting. That will cause the hair on, and around the ears to slip, give the pelt a foul odor, and decrease fur value. But its really persenal prefernce!)
Again, for coon possum, muskrat, mink and anything other then long haired K9s I do NOT remove the cartilage.
Cut through the cartilage, and free the ear area. Work the pelt down to the eys now.
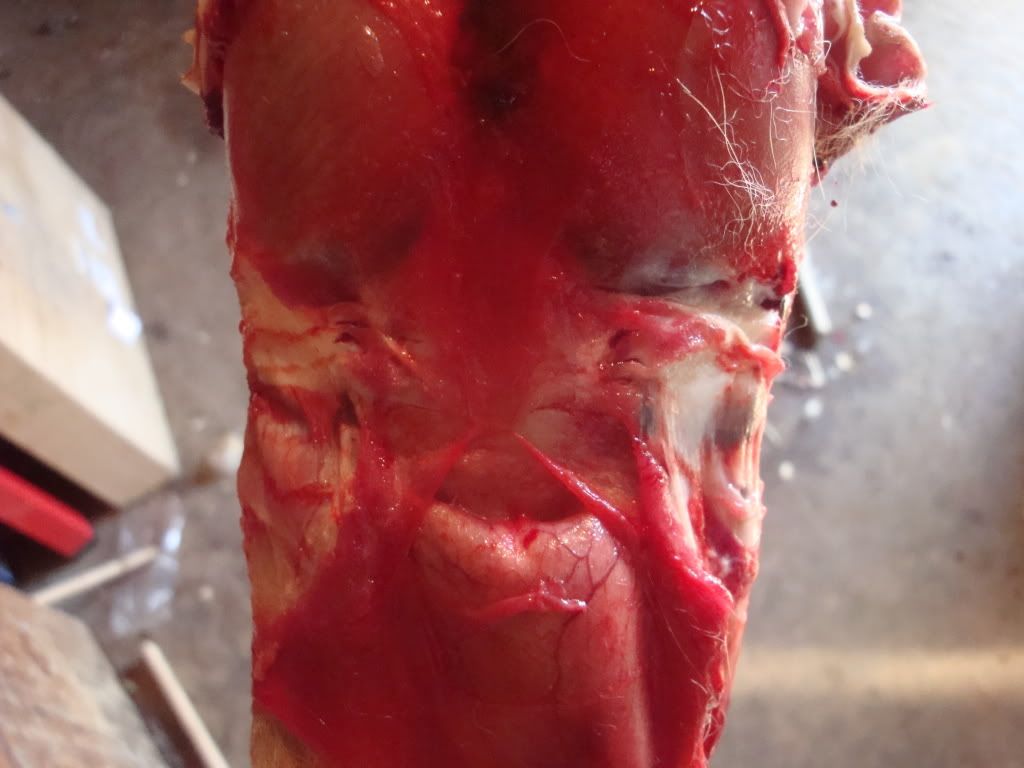
You can see the eyes just starting to appear through the membrain in the picture. It's important to hug as CLOSE to the base of the skull or base of the eye ball as possible!
While cutting through the membrain you also want to angle your knife TOWARDS the skull. Remember to hug the base of the eye.
This will enssure the eye does not become overlarged, and is natural sized.
After your through the eyes, continue down the snout to the nose. You will encounter the lips.... once you get the lips skun part way down, that you can fit the knife blade through the mouth, cut the lips free of the pelt.
Then just finish out to the tip of the nose, and cut the nose free of the pelt, and bingo, your finished skinning!
Sorry if it wasn't as detailed as I hoped it would be. Time is pressing today for me.
The method I just showed is the "Cased" method. The only thing you do not skin the cased method would be the beaver...or thats all I can think of!
Take care for now..hope it helps.
Bobo, I also included a section for removing the cartilage you asked me about!
Here we are!
First off, this is a fox. Not a coon or mink, or muskrat ect. However, I skin my coon, mink skunk ect the same way I skin my fox. Exept fox is the only critter I remove the ear cartilage from.
First thing I do is lop off the feet at the elbows of the criter. This saves ime, and makes things easier once you get to where you have to skin the legs out!
I also put a rubber glove over the foxes head, starting at its nose, and fasten it behind his ears.
This keeps the pelt free of blood. Most the blood comes out of the nose/head area when skinning. Keeping the glover over its head keeps the blood getting all over the fur!
Here's the pic. of the fox before any cuts are made.
here is the picture of the first cut that is made.
You can see it follows the fur line (from where the fur is white, to orange) it starts at the heel of the foot, and goes basically in a straight line, passes right below the testi's, to the oposite heel.
Now its ime for the second cut.
This starts at the tip of the anal, and goes in a straight line to where it connects with the first cut you made...right below the testi's. Do this on both sides of the anal. One cut will go on the right side of the anal, and end on the right side of the testis, and the other cut will start on the left side of the anal, and end where it connects with the first cut...on the left side of the test's.
Now it's time for some finger work. Work the hide loose, all around the cuts you made.
This is what it should look like. You can see that the furst cuts you made, leaves the tesit's and anal on the carcass. You seperated them from the hide. This is what you want.
In this picture you can see that I worked the hide all around the hind legs. It shows the space between them, and it also shows where you cut the leg skin loose. This will loosen the hide up alot.
This shows the fox after the leg skin is cut.
Now continue working the hide down, and all the way around to the backside of the fox, at the base of the tail. loosen the hide down the back bone underneath the tail. This will help you alot when you strip the tail off the tail bone.
That is your next step.
Grab your tail puller, and strip the tail off the bone.
Then grab your tail zipper, (or use a knife) and zip the tail so that the tail is not a enclosed tobe, but open, so it can properly dry!
Now you can work the hide all the way down to the front legs. once you get to the front legs try to work the skin around the legs as far as possible.
You can see in the picture I worked the hide around the front legs as much as I could. if you worked the hide around the front leg, There should be membrain (not skin) seperating either side of the arm pit.
Thats where I take a peice of rebar, or long screw driver, and insert it, behind the arm pit, out the other side through the membrain. Be carefull,as you dont want to rip the skin while forcing the rebar through.
Then just pull the rabar down untill it peels the leg skin off the legs. And thats all there is to skinning out the front legs!
Do that on both front legs.
Next work the hide down the neck till you reach the base of the head/ears.
This is where on coon, or anything other then a long haired K9, I would just cut right through the cartilage. However, I prefer to remove the cartilage on my FOX and COYOTE...nothing else, though.
I will make a seperate post dedicated to ONLY the removal of the cartilage.
Now that you can see the start of the ears, just cut right through the cartilage. ( for foxes or coyotes, you can remove the cartilage..I do prefer too, as it drys MUCH faster, and prevents any chancesof the the ears tainting. That will cause the hair on, and around the ears to slip, give the pelt a foul odor, and decrease fur value. But its really persenal prefernce!)
Again, for coon possum, muskrat, mink and anything other then long haired K9s I do NOT remove the cartilage.
Cut through the cartilage, and free the ear area. Work the pelt down to the eys now.
You can see the eyes just starting to appear through the membrain in the picture. It's important to hug as CLOSE to the base of the skull or base of the eye ball as possible!
While cutting through the membrain you also want to angle your knife TOWARDS the skull. Remember to hug the base of the eye.
This will enssure the eye does not become overlarged, and is natural sized.
After your through the eyes, continue down the snout to the nose. You will encounter the lips.... once you get the lips skun part way down, that you can fit the knife blade through the mouth, cut the lips free of the pelt.
Then just finish out to the tip of the nose, and cut the nose free of the pelt, and bingo, your finished skinning!
Sorry if it wasn't as detailed as I hoped it would be. Time is pressing today for me.
The method I just showed is the "Cased" method. The only thing you do not skin the cased method would be the beaver...or thats all I can think of!
Take care for now..hope it helps.